How to Fold Rigid Boxes: A Comprehensive Guide
Discover the art of folding rigid boxes with our comprehensive guide. Learn step-by-step techniques to create perfect packaging every time.

Table of content
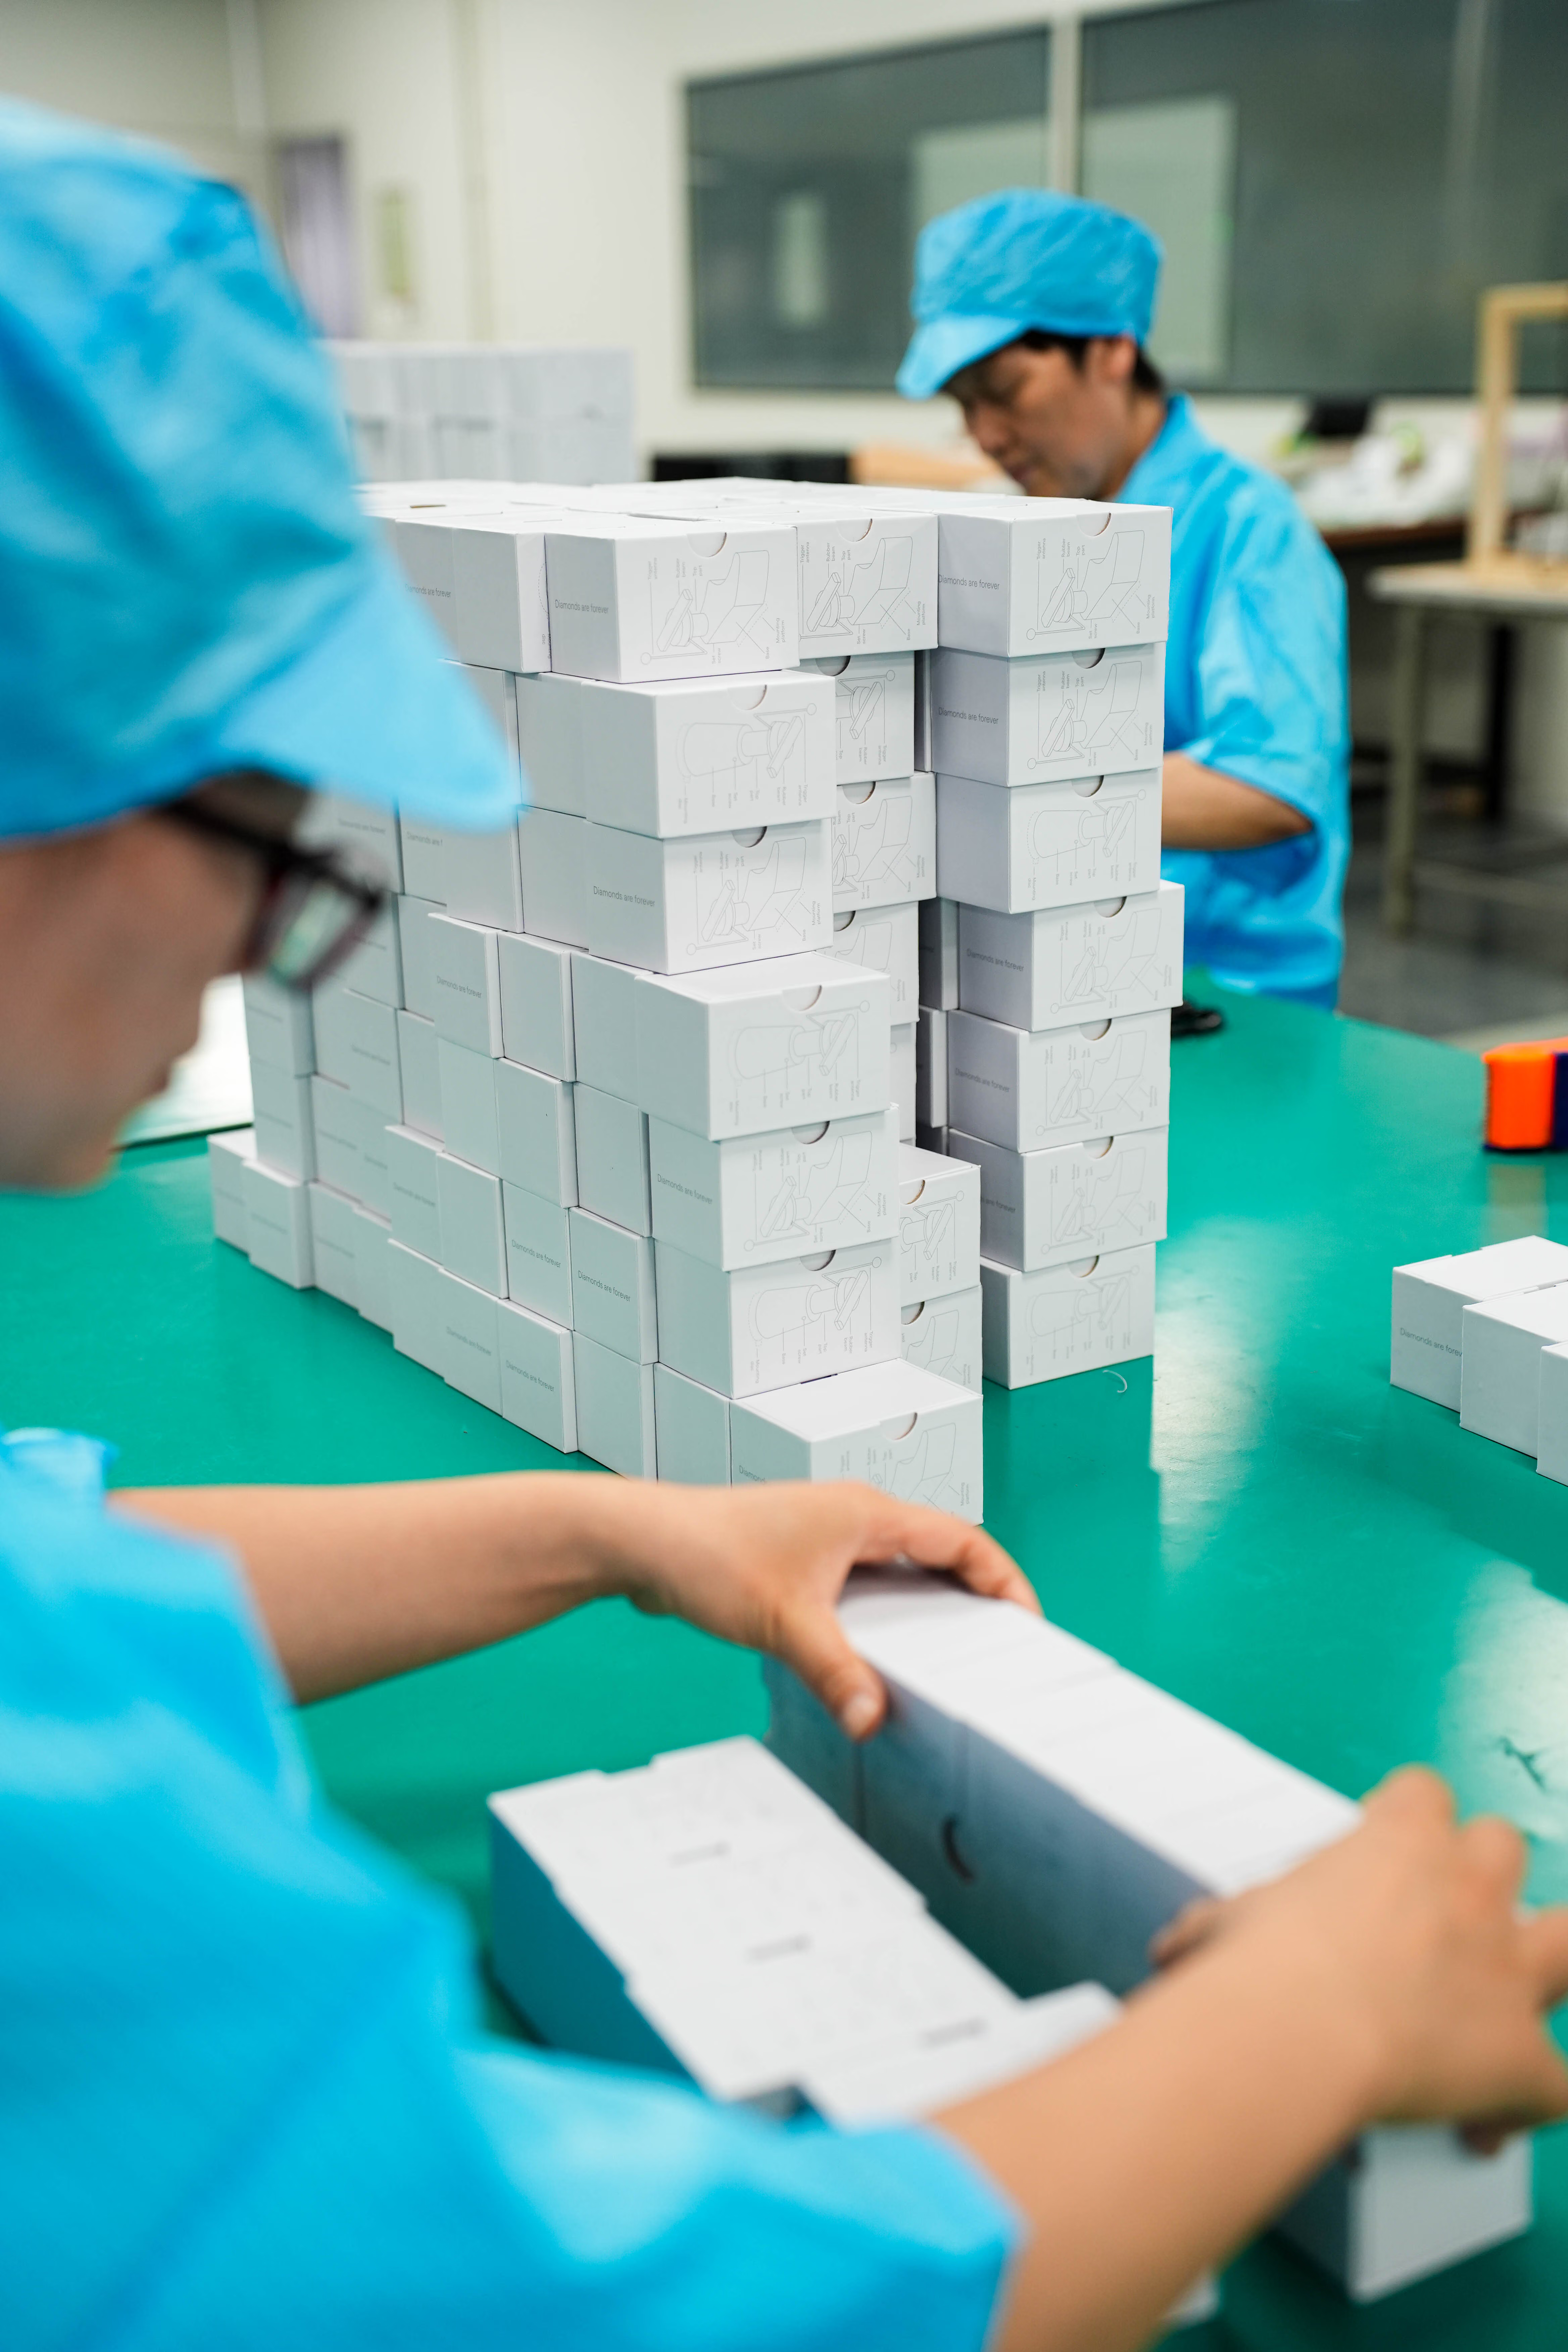
Rigid boxes are strong, stylish packaging often used for luxury products like candles, electronics, and gifts. They offer great protection and a premium unboxing experience. But no matter how well they’re made, a rigid box won’t do its job if it’s not folded correctly. Poor folding can weaken the structure, affect the look, and even damage the product inside. This guide will show you, step by step, how to fold rigid boxes properly—so they look neat, stay strong, and work beautifully whether you're assembling one box or hundreds.
Before you start folding, it’s important to know what you’re working with. Rigid boxes might look simple once they’re assembled, but when they’re flat-packed, they can seem a little confusing at first. Understanding the parts and terms used in box folding will make the whole process much smoother.
Key Components:
· Panels: These are the main flat areas of the box—the base, the sides, and the lid.
· Flaps: Smaller sections attached to the panels that help close or support the box when folded.
· Score Lines: These are the pre-made crease lines that tell you exactly where to fold.
· Tabs: Extra bits that tuck into other parts or are glued down to hold the shape.
· Glue Points: Spots where adhesive is already applied or needs to be added during folding.
Each of these parts plays a role in building a strong, clean box. If even one flap or tab is folded incorrectly, it can throw off the whole structure.
Common Folding Terms:
· Pre-Creasing: This means gently folding along the score lines before the final fold—kind of like warming up the material.
· Tucking: Sliding flaps or tabs into place to lock the structure in.
· Forming Corners: This is when you bring two panels together to make a 90-degree corner, creating the box’s shape.
If you're a visual learner, it can help to lay out a flat rigid box and identify these parts before you start folding. Just seeing how everything fits together can make things a lot clearer. Once you're familiar with the layout, folding becomes much more intuitive.

Here’s some good news: you don’t need fancy equipment to fold rigid boxes. In most cases, your hands and a flat surface are all it takes. That’s part of what makes rigid box assembly so approachable, even for beginners. Still, a few simple tools and a well-organized workspace can make the process easier and help you get cleaner, more professional results.
Basic Tools:
· Your Hands: Your most useful tool! With just your fingers, you can fold and shape most rigid boxes without any extras.
· Bone Folder: This handy tool helps make crisp, clean creases without damaging the surface—especially useful for thick or laminated materials.
· Soft Gloves: If your boxes have glossy, matte, or velvet finishes, gloves help prevent smudges or fingerprints.
You don’t need to use all of these every time, but they’re nice to have around if you're working with high-end or delicate materials.
Workspace Tips: Set yourself up for success with a simple, clean work area. Use a flat surface like a desk or tabletop with plenty of room to spread out. Make sure the surface is dry and free of any rough spots that might scratch your boxes.
Good lighting is also key—it helps you see score lines clearly, especially on dark or textured materials. If you’re assembling many boxes, it helps to have a few weights or paper clips nearby to hold panels in place temporarily while you work.

Let’s get to the heart of the process. Folding a standard rigid box—like a two-piece lid and base design—is easier than it looks once you understand the flow. Here’s how to do it:
1.Identify the Score Lines
Lay the box flat and take a moment to find all the pre-scored fold lines. These are your guide.
2.Pre-Fold the Creases
Gently fold along each score line to loosen them up. This step helps prevent cracking and ensures a smoother final shape.
3.Form the Corners
Bring up the side panels and fold in the corner flaps. These flaps usually tuck in or align with glue points.
4.Secure the Flaps or Tabs
Press down gently but firmly to secure tabs or apply glue if needed. Hold for a few seconds to let the adhesive set.
5.Repeat for the Lid
Follow the same steps for the lid piece, making sure the edges are aligned for a snug fit.
That’s it! You’ve just folded a basic rigid box. With practice, each one will take just a minute or two to complete.

Rigid boxes come in many styles, and while the basic folding technique is similar, each type has its own unique touches. Let’s look at some of the most common styles and how to fold them correctly.
1. Hinged Lid Boxes
· Start by forming the base.
· Then fold over the attached lid. Gently press along the hinge to shape the fold.
2. Magnetic Closure Boxes
· These have magnets embedded in the flap. Fold the base, then carefully fold the lid and flap so the magnets align. Press gently to lock in place.
3. Drawer-Style Boxes
· First, fold the outer shell into a sleeve.
· Then assemble the inner drawer, securing corners and tabs.
· Slide the drawer into the shell and check for a smooth open-close action.
4. Two-Piece Gift Boxes
· Fold the base and lid separately.
· These may have extra details like ribbons or printed lining—fold with care to preserve aesthetics.
5. Unique-Shaped Gift Boxes
· These might be round, heart-shaped, or triangular.
· Gently pre-crease curved lines and follow any specific folding instructions provided.
No matter the shape, always do a test fold if you’re trying a new box style. It’ll save time and reduce the chance of mistakes.
If you’re folding a lot of boxes—whether for a business, event, or product launch—you’ll want to fold fast without sacrificing quality. Here are some easy ways to boost your speed and keep everything looking sharp:
· Sort Before You Start: Group all the lids together and all the bases together. Folding in batches is quicker and helps you build muscle memory.
· Pre-Crease Everything: Pre-folding all the score lines in a batch helps speed things up later.
· Work in a Rhythm: Set up a mini assembly line if you’re doing it solo—crease, fold, secure, repeat.
· Use a Jig: For high-volume folding, a cardboard jig or template can help keep folds consistent.
Also, remember to take short breaks—your hands will thank you, and your folds will stay cleaner when you’re not rushing through fatigue.
Even with experience, small mistakes happen. The good news is most problems are easy to fix if you know what to look for.
Problem: Box isn’t folding square
· Fix: Make sure all folds are even and corners are aligned. Re-crease score lines if needed.
Problem: Flaps not lining up
· Fix: Double-check the fold direction and sequence. Misfolding one flap early can throw off the rest.
Problem: Creases look weak or messy
· Fix: Use a bone folder to firm up lines. Always pre-fold to avoid rough edges.
Problem: Material tears or cracks while folding
· Fix: This usually happens with thick or laminated boards. Try folding slower and warm the area slightly with your hands.
Keep a few extra boxes on hand for practice or replacement, just in case.
Rigid boxes can be made with all kinds of materials—some thick and durable, others soft or coated for a premium look. How you fold them may change depending on what you're working with.
For Thicker Cardboard:
· Use firmer pressure, but fold slowly to avoid breaking the surface.
· Be extra careful when forming corners—rushing can split the edges.
For Laminated or Coated Surfaces:
· Always wear gloves to avoid smudges.
· Crease gently and evenly to prevent cracking the finish.
For Delicate or Textured Materials:
· Use your hands, not tools, to fold.
· Go slow and apply even pressure.
Knowing your material helps you adjust your technique and avoid damage during folding.

How you fold a box can also depend on how it will be used. A box for shipping isn’t folded the same way as one meant for display or gifting.
For Shipping:
· Make sure all flaps are tightly secured and corners are reinforced.
· Use additional tape or inserts to protect the product during transit.
For Storage:
· If your boxes are collapsible, fold them flat again to save space.
· Keep them in a dry area to avoid warping or bending over time.
For Presentation or Gifting:
· Focus on precision—sharp corners, clean creases, and perfect alignment.
· Add custom touches like foil stamping, ribbons, or inserts to elevate the look.
The way a box is folded can influence first impressions. Clean, careful folding reflects well on the product—and on you.
Conclusion
Folding rigid boxes might seem simple, but doing it right makes a big difference in strength, appearance, and efficiency. With practice, you’ll fold faster and neater—and your boxes will look as professional as the products inside. If you want to take things up a notch, consider customizing your rigid boxes with special finishes or inserts to match your brand or occasion. Great packaging starts with a great fold!
Recommended for you




.avif)
.avif)


.avif)
.avif)
You Might Enjoy




Are we right for each other?
We work best with brands that treat packaging as part of the product, not as the last thing on the list. To save us both time, here is who we work with best.
We're probably not the right fit if:
- Orders under $1,000.
- A few boxes, one time.
- Lowest quote wins.
- No conversation, just add-to-cart.
- Brand direction still up in the air. Our FAQ covers the basics first: process, scale, sampling, finishing, production. Worth reading before submitting anything.
We're a strong fit if:
- Projects starting around $1,000 and up.
- Sampling before production makes sense to you. It runs from $300, though complete artwork and locked specs can sometimes skip straight to the line.
- There's real budget behind the packaging, and an expectation that production standards get defined properly.
- What's needed is a manufacturing partner across structure, material, process and delivery. Not a print shop taking a file.
- The box has a job: retail shelf, gifting, unboxing. It has to carry the brand.
- Getting it right matters more than getting it cheapest.
Sound like your project? Let's talk

What happens after you submit
1. A specialist reviews your project, usually within 1 business day.
2. We follow up with questions, options, and indicative pricing.
3. Once the spec is confirmed, we move to sampling.