A Comprehensive Guide to Rigid Candle Box Manufacturing
Explore the complete process of rigid candle box manufacturing with this comprehensive guide. Learn materials, techniques, and design tips.
Contact Us now
Table of content
Ready to Elevate Your Brand with 100% Custom Box & Bag Solutions?
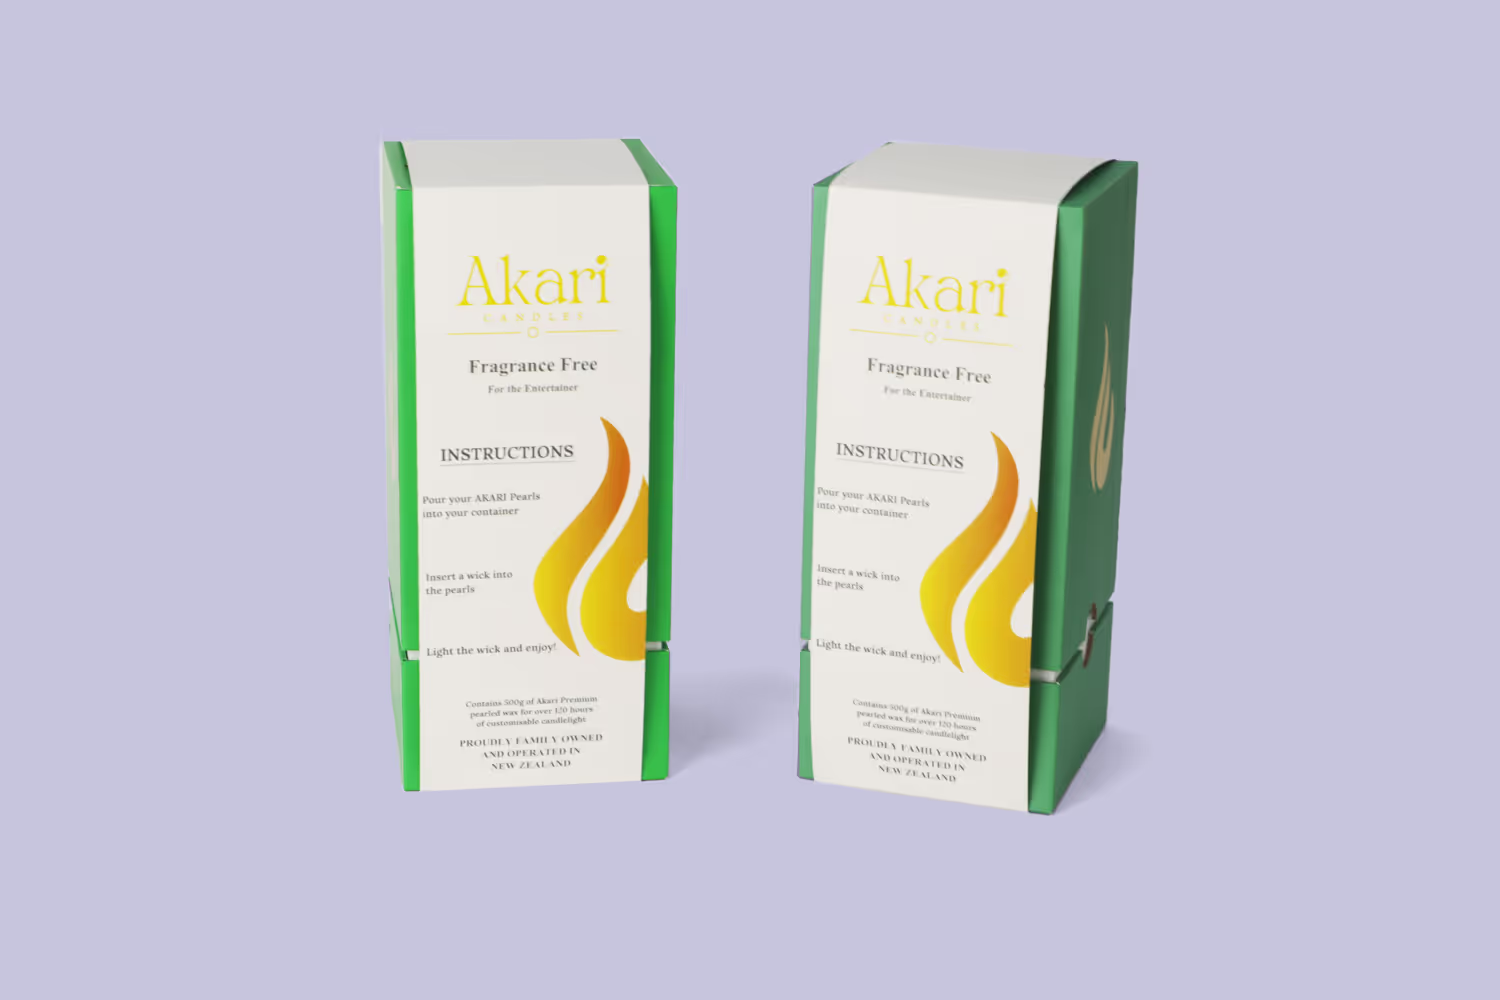
Get a Free QuoteRigid candle boxes are strong, beautiful packaging options that many candle brands love to use. These boxes do not fold and always keep their shape. That’s why they feel more special and look more expensive. When people buy candles, they expect the packaging to look just as nice as the candle itself. Rigid candle boxes help protect the candle and make it look more valuable. They also make a good first impression, especially when candles are bought as gifts. This blog will give you a full guide on how rigid candle boxes are made, from the materials and machines used to design ideas, printing, finishing touches, and even future trends.
Table of Content
Understanding Rigid Box Construction
Design and Conceptualization: From Idea to Die-Line
Manufacturing Processes: A Step-by-Step Breakdown
Machinery and Equipment: Tools of the Trade
Material Selection Deep Dive: Choosing the Right Components
Finishing Touches: Enhancing Aesthetics and Functionality
Quality Control and Assurance: Ensuring Premium Standards
Cost Optimization and Efficiency in Rigid Box Production
Future Trends and Innovations in Rigid Candle Box Manufacturing
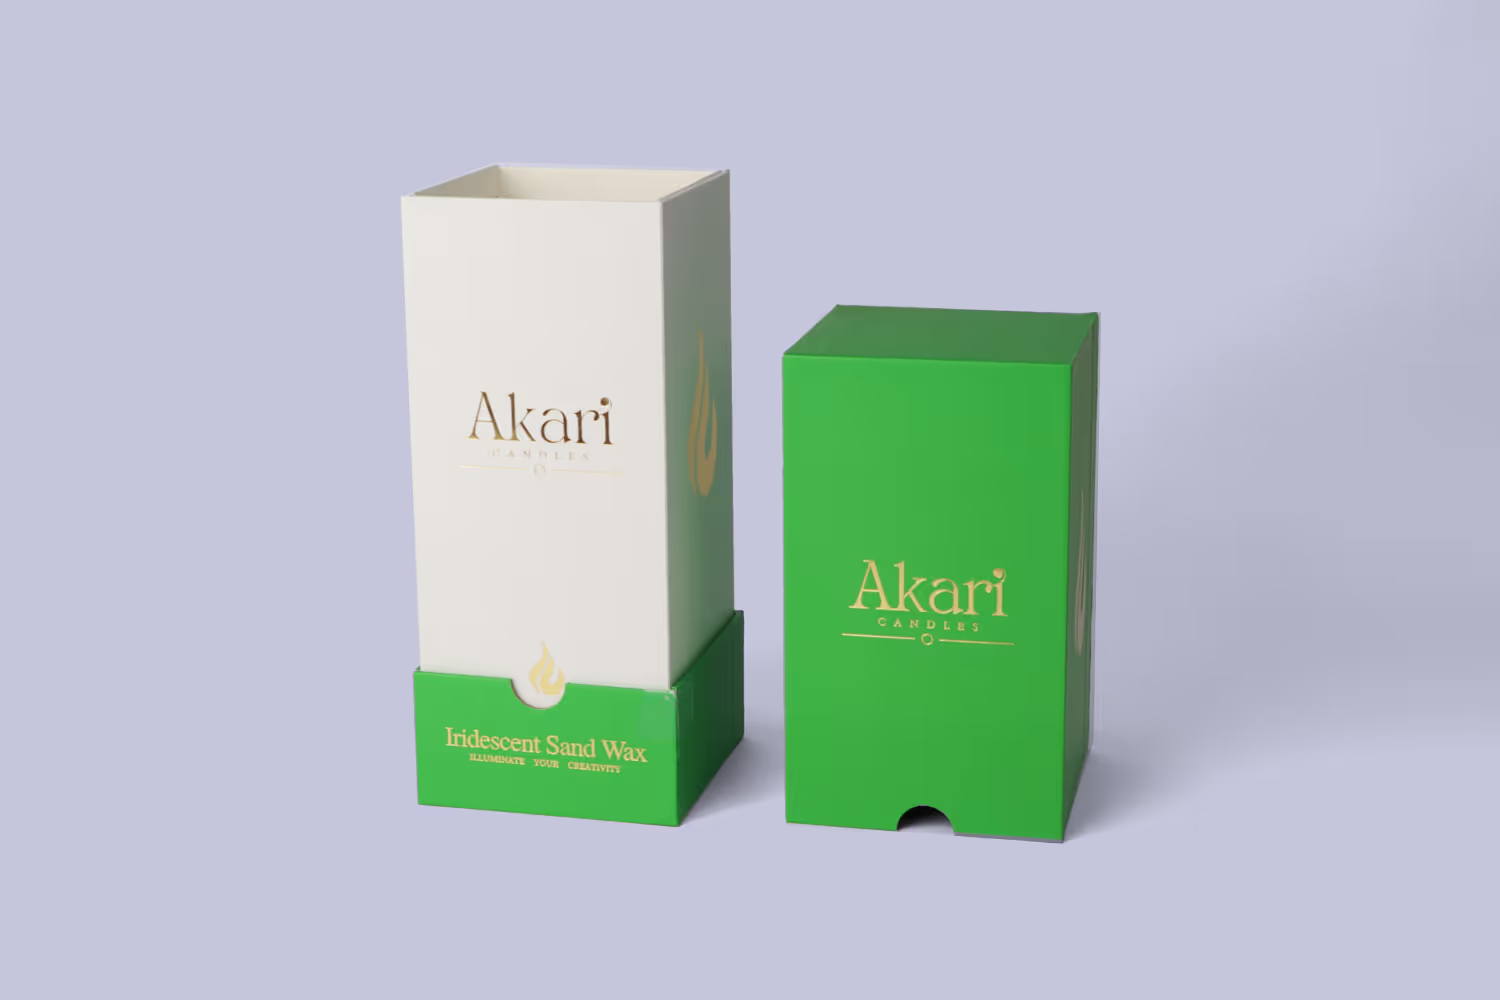
To make good rigid candle boxes, we first need to understand how they are built. Each box is made with several parts that work together to create a strong and nice-looking package.
What Is Inside a Rigid Box?
Rigid boxes are made from three main parts:
1. Chipboard or Greyboard – This is the hard material inside the box that gives it strength.
2. Wrapping Paper – This paper goes on the outside of the chipboard to give the box its color and design.
3. Lining Paper – This paper is placed inside the box for a clean and neat finish.
Choosing the Core Board
The chipboard can come in different thickness levels. Thicker boards are stronger and are better for holding heavy candles. Some chipboard is smoother and better for printing, while others are rougher and cheaper.
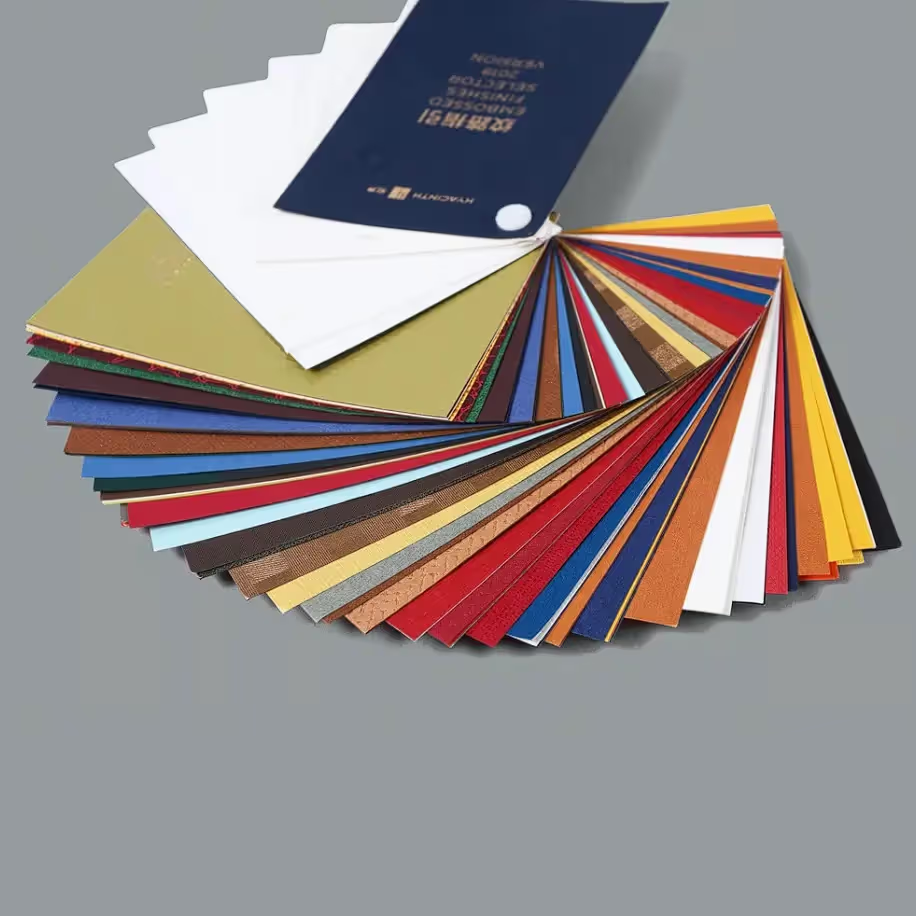
Wrapping Paper Options
There are many types of wrapping paper you can use for rigid candle boxes. One popular type is coated paper, which has a smooth surface and works well for printing. You can also use special paper like textured paper, fabric, or even velvet if you want the box to feel more fancy. The type of wrapping paper affects both the look and feel of the box.
Structural Details
Corners and edges must be sharp and clean. That’s what makes a rigid box look neat and high-end. Inside the box, there can be special inserts made from foam or cardboard to hold the candle in place. Some boxes have magnetic closures, ribbons, or lids that lift off to make the box easier to open and close.
Design is one of the most important steps when making rigid candle boxes. The design affects how the box looks, how it works, and how people feel when they open it.
Why Good Design Matters
A well-designed candle box makes your product look better and helps customers remember your brand. The design should match the style of your candle and what your brand stands for.
Planning the Design
When planning a rigid candle box, you need to think about the size and shape of the candle. Is it in a jar, tin, or glass? Also, who is your customer? What colors or styles do they like? Your design should also match your logo and brand message.
Making the Die-Line
The die-line is like a drawing or map that shows where to cut and fold the box. It helps make sure each part of the box fits perfectly. You need a correct die-line before you can make the box.
Prototypes and Samples
Before you make a lot of boxes, it’s smart to make a sample first. This helps you see how the box looks and make any changes if needed. Prototypes save time and money by helping you avoid mistakes in big orders.
Making rigid candle boxes is done step by step. Each step must be done carefully to make sure the box is strong and looks good.
Step 1: Cutting and Scoring
The chipboard is cut into the right shapes. Then lines are made in the board so it can be folded. Wrapping paper is also cut to the right size.
Step 2: Gluing and Shaping the Corners
Glue is added to the corners, and the board is folded to create the box shape. Machines help press the corners firmly to keep the shape strong.
Step 3: Wrapping the Box
Now it’s time to wrap the chipboard with the outside paper. Glue is used to stick the wrapping paper onto the chipboard. It must be smooth, with no bubbles or wrinkles.
Step 4: Lining the Inside
The lining paper is added to the inside of the box. If the box needs an insert, it is added now. The insert holds the candle so it doesn’t move around inside the box.
Step 5: Quality Check
At every stage, workers check the boxes to make sure they are made correctly. Boxes that don’t look good or are not strong enough are removed.
Different machines are used to make rigid candle boxes. The kind of machine used depends on how many boxes are needed and how complex the design is.
Common Machines
· Automatic Rigid Box Machines – These machines can make many boxes quickly and are used for big orders.
· Semi-Automatic Machines – These need some human help and are good for smaller orders or custom designs.
· Cutting Machines – These cut the chipboard and wrapping paper.
· Gluing Machines – These apply glue to the corners and wrapping paper.
· Finishing Machines – These are used for things like lamination, foil stamping, or embossing.
The right machines help save time, reduce mistakes, and make better boxes.
When making rigid candle boxes, every material matters. From paper to glue, each part helps make the final box better.
Wrapping Paper Types
Paper comes in many weights and textures. Matte paper feels smooth and soft. Gloss paper is shiny. Textured paper can feel like linen or wood. The choice depends on the candle and the style you want.
Printing and Decoration
There are several ways to print designs on the box:
· Offset printing for high-quality images
· Screen printing for bold colors
· Digital printing for small or custom runs
· Hot foil for shiny gold, silver, or other metallic finishes
Using hot foil makes the box look more special and helps it catch people’s eyes on the shelf.
Glues and Adhesives
Strong glue is important. Hot glue dries quickly and holds tightly. Water-based glue is better for the environment and works well with paper.
Eco-Friendly Choices
If your brand cares about the planet, you can use recycled chipboard, soy ink, and paper that breaks down naturally. Many customers like to buy products with eco-friendly packaging.
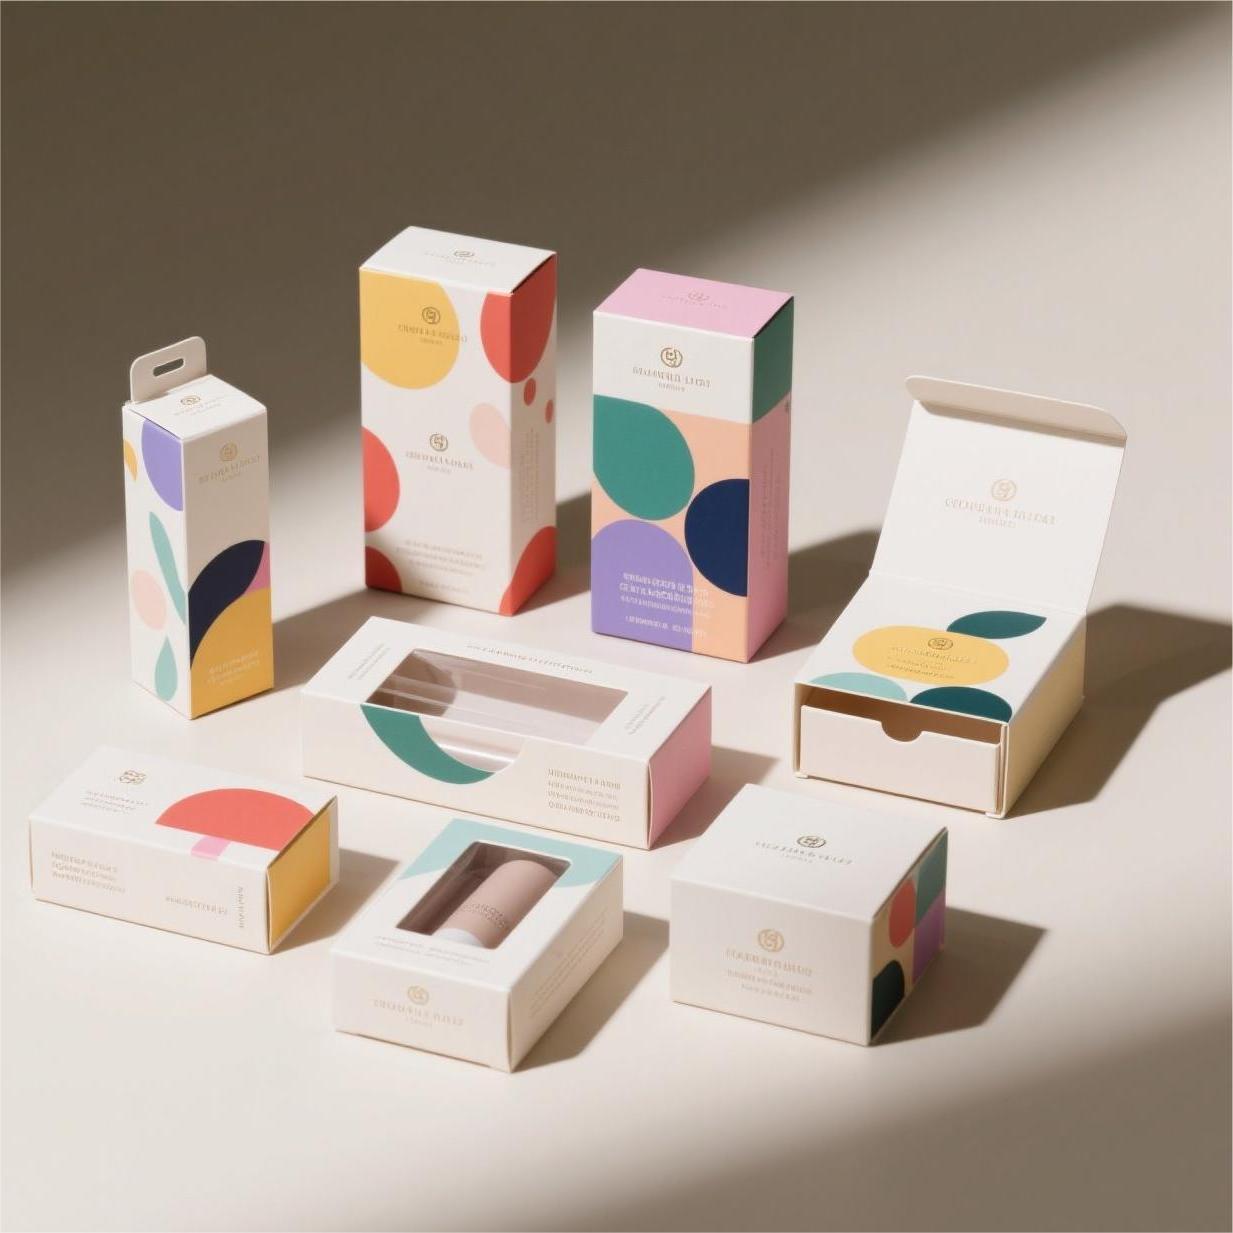
The last step is making the box look extra special. These details help your rigid candle boxes stand out.
Laminations and Coatings
· Gloss and matte lamination help protect the box and add shine or softness.
· Soft-touch lamination feels like velvet and makes the box feel expensive.
· UV and water-based coatings help keep the box clean and fresh.
Special Effects
· Embossing and debossing make parts of the box pop out or go in.
· Foil stamping adds shiny details, often used for logos or patterns.
· Spot UV adds extra shine to only certain areas.
· Glitter or holographic paper can be used for holiday or gift boxes.
These effects help customers feel like they are buying something truly special.

Good rigid candle boxes must look and feel perfect. That’s why quality control is very important.
What to Check
· Materials: Are the chipboard and paper the right kind?
· Size: Does the box fit the candle correctly?
· Glue: Are all the corners and edges strong?
· Print: Are the colors right? Is the logo sharp?
· Finish: Are there any marks, bubbles, or damage?
Keeping Quality High
Using checklists and written procedures helps workers know what to look for. If a box doesn’t meet the standard, it is not used. Less waste also means saving money and time.
Making good rigid candle boxes can be expensive, but there are ways to save money without losing quality.
Ways to Save
· Buy materials in large amounts to get better prices.
· Use machines wisely and keep them in good condition.
· Train workers so they can do things right the first time.
· Plan the workflow so there is no waiting or extra steps.
· Use automation for big orders and manual work for custom jobs.
Smart planning helps you make great boxes while keeping costs low.
The world of rigid candle boxes is always changing. New ideas are coming that make the boxes better and more exciting.
What’s Coming Next?
· More use of eco-friendly materials like recycled board and soy ink.
· Smart packaging that uses QR codes or NFC tags to give more information.
· Personalization, like printing someone’s name on the box.
· Unique designs like the custom rigid 2-piece candle box with sleeve, which offers both beauty and function.
· New materials and textures that make boxes even more attractive.
As customers expect more, the packaging must also improve. Rigid candle boxes will keep getting better, smarter, and more beautiful in the future.
Conclusion
Rigid candle boxes are one of the best ways to pack and present candles. They are strong, elegant, and help your brand look more professional. From the first idea to the final product, each step in the manufacturing process is important. You must choose the right materials, create a smart design, and use the best machines and finishes. Good quality control makes sure every box meets high standards. Looking ahead, trends like sustainability, smart features, and personalization will shape the future of rigid candle box packaging. Whether you’re a new business or an experienced candle maker, learning how to make great rigid candle boxes can help you grow your brand and impress your customers.
Recommended for you